Aircraft blades
Precision forging, casting, machining, wax model, blade assembly
Aircraft engines are highly complex and precise thermal machinery that mainly provide flight power for aircraft. They are known as the "heart" of aircraft and the "flower of industry". Aircraft blades are one of the core components of the engine and are also key power components related to engine safety performance. Their shape and manufacturing accuracy have a vital impact on the power performance of the engine. However, in order to manufacture a large number of blades that meet the design requirements, accurate evaluation and analysis of their test data have become a necessary link in the blade manufacturing process.

Steam turbine blades
Turbine blades are the core hot end components of gas turbines. Their research and development and manufacturing are important manifestations of the development scale and technical level of a country's industry. As a key component of gas-dynamic energy conversion, the dimensional accuracy of turbine blades is not only related to whether the gas turbine can be installed smoothly, but also the key to ensuring its safe operation.
Hydro turbine
The turbine in the hydropower station is one of the extremely important electromechanical equipment in the project and the main equipment to achieve the function and benefit of the project. The normal operation and use efficiency of the turbine directly affect the entire project; due to cavitation and wear during operation, damage, deformation, cracking, crushing and other defects will seriously affect the working efficiency and safety of the turbine. To reduce the occurrence of such problems, it is necessary to accurately measure the blades produced in the early stage.
The three-coordinate measuring machine can accurately detect the profile and hole position of the blade, and according to the measured data, it can play a role in guiding the repair work of the blade, so as to achieve the purpose of evaluating the repair quality, thereby ensuring the normal operation and use efficiency of the turbine.
Impeller
As a key component of power machinery, the integral impeller of the integral impeller of power machinery is widely used in aerospace and other fields. Key components, widely used in aerospace and other fields. The main inspection positions of the impeller are blades, flow channels and leading edges. The inspection items include blade profile and thickness, blade tip and inner flow channel profile, leading edge profile, etc.
1. The difficulty of impeller blade inspection lies in the twisted complex surface. AEH Edward four-axis scanning perfectly solves this problem.
2. The measurement software automatically calculates the turntable angle of each measuring point and the position of the probe in and out of the blade safety point according to the theoretical blade shape and twisting clearance of the blade, saving a lot of programming time.
Blade inspection
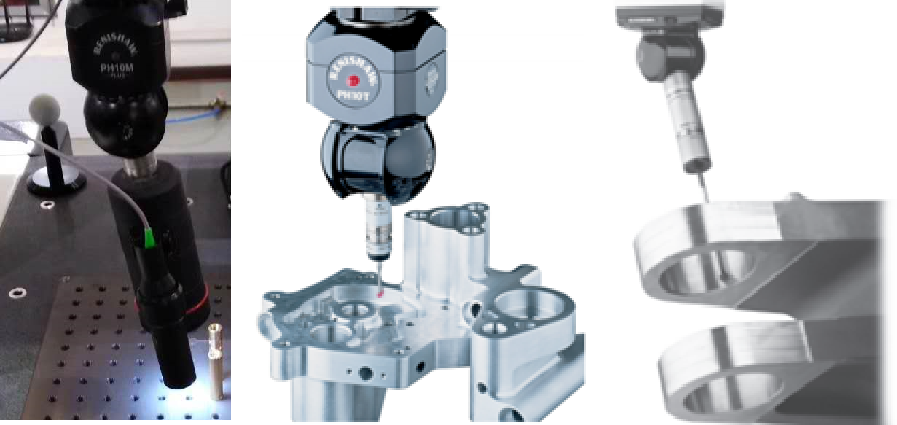
You can choose non-contact point laser, contact trigger, scanning probe measurement

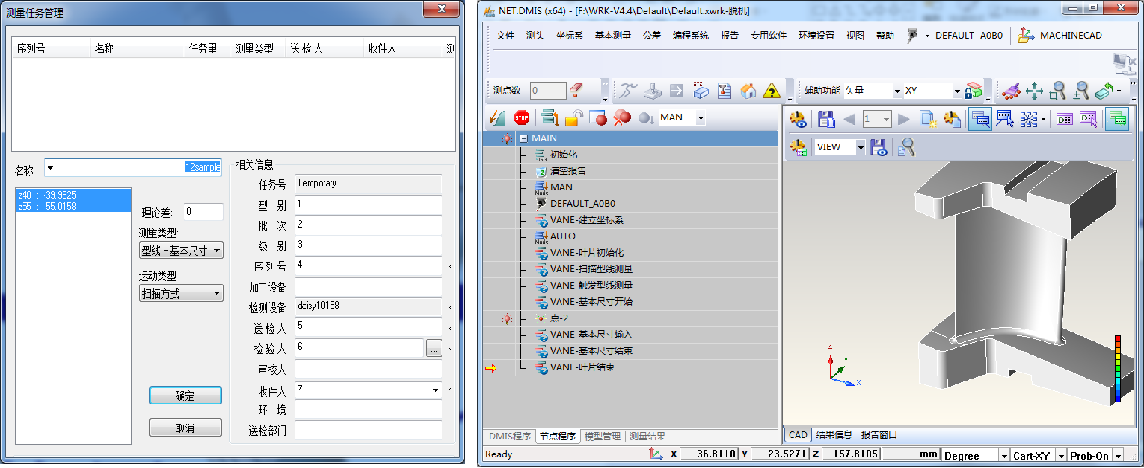
The blade type is selected through the blade-specific software, and the measurement program is automatically started. After the measurement is completed, the dedicated software automatically outputs the test report.

There are many ways to establish a coordinate system. According to customer needs, it can be point-line-surface alignment, RPS alignment, three center point alignment, etc.
When the assembly datum of the blade is a relatively regular surface, we generally use the point-line-surface method to align the coordinate system. First manually build the coordinate system roughly, then automatically build the coordinate system finely, and you can also correct the coordinate system, including coordinate system rotation and translation.
When the assembly datum of the blade does not have a relatively regular surface, such as the assembly surfaces are all cylindrical or serrated surfaces, we can consider using the RPS alignment method to establish the coordinate system. Using the theoretical RPS points, through the program loop, we can achieve our goal of accurately establishing the blade.
Measurement method-contact scanning

Measurement method - optical fast multi-axis measurement system
The quality of blades is closely related to the performance of products made of blades. Blade detection is an important link to ensure blade quality. Traditional blade detection is achieved through sample detection and pneumatic measuring instrument detection. Later, three-coordinate measuring machines were used to complete blade detection, replacing traditional blade detection, greatly improving the efficiency and accuracy of blade detection. However, this method requires constant temperature during measurement and has low sampling efficiency.
In addition to traditional trigger and scanning measuring machines for blade detection, Edwards' optical fast multi-axis measurement system is a solution tailored for blade measurement. It replaces the original contact measurement with a new measurement mode combining four-axis motion and white light measurement, overcoming the inherent weaknesses of contact probes when measuring blades. It provides customers with a new measurement solution in the field of blade measurement, changing the field of blade measurement from single contact measurement to a new measurement mode combining non-contact measurement and turntable.
Blade evaluation software function
1. Compatible with different measurement equipment such as Edwards, Hexagon, and Zeiss, and automatically capture blade measurement data.
2. It can process the measurement data collected by trigger, scanning, laser, image and other measuring sensors.
3. It can meet the technical requirements of profile evaluation for different blade processing methods such as precision forging, machining, casting, etc.
4. The blade profile fitting methods are diversified: overall fitting of blade basin and blade back, blade basin benchmark fitting, blade back fitting, inlet and outlet edge fitting, and centerline fitting.
5. The evaluation tolerances are diversified: uniform tolerance, segmented tolerance, and unilateral tolerance.
6. It can be customized and developed according to the special requirements of customers.
Evaluation items
Thickness: maximum thickness of blade profile, thickness of inlet and outlet edge.
Length: chord length, projection length of blade profile on X and Y axis.
Position: inlet and outlet edge position.
Angle: chord angle.
Blade profile profile of each section: the highest and lowest points of blade basin of each section after the best fitting, the highest and highest points of each section of blade back, and the overall profile of each section.
Overall profile of blade: highest and lowest points of blade basin after best fitting, highest and highest points of blade back, overall profile of blade basin and blade back.
Shape: bending and twisting deviation values ??after best fitting
Displacement: displacement in X and Y directions after best fitting, requiring independent best fitting of sub-items.
Evaluation of K point: K point thickness and deviation value (normal).


